Thursday, June 9, 2011

What if the hokey pokey is what it's all about?


Yesterday I made ice cream and it was a success. Surprisingly! It's a lot easier to make than what I thought. It's pretty much just like making custard and freezing it. I made hokey pokey ice cream for nostalgic reasons. It's a bit of a New Zealand favourite.

To make it I grabbed a basic vanilla ice cream recipe online and used the old faithful Edmonds Cookbook for the hokey pokey. Since I don't have an ice cream maker I googled around for the how-to and found this guys blog post - david lebovitz. I've come across him before and definitely sounds like a bit of an ice cream expert. He makes it sound pretty easy, and turns out it is!

Recipes are below...(I added the hokey pokey about half way through freezing the ice cream)


Basic Vanilla Ice-Cream

(adapted from taste)


Ingredients

300ml thick cream

300ml milk

2 tsp vanilla bean extract

6 egg yolks

175g caster sugar


Method

Place the cream, milk and 2 tsp vanilla in a saucepan. Bring to the boil, then turn off the heat and set aside for 10 minutes to infuse.

Place the egg yolks and sugar in the bowl. Beat with an electric hand mixer until pale.

Carefully pour the milk over, then return to a clean saucepan.

Cook over low heat, stirring, for about five minutes until it is slightly thickened and coats the back of a wooden spoon.

(Keep the heat very low as you don't want to scrabble the egg yolks)

(This simple custard forms the basis of a classic ice-cream recipe.)

Set aside to cool, then refrigerate for 30 minutes.

Place custard in a plastic container in the freezer until frozen at the edges (about an hour). Remove from freezer. Beat with an electric beater. Re-freeze. Repeat this process two more times.

Leave until completely frozen, for best results leave over night.

(Alternatively, churn in an ice-cream machine according to the manufacturer's directions.)

Makes 1 Litre


Hokey Pokey


Ingredients

5 Tbsp of white sugar

2 Tbsp of golden syrup

1 tsp baking soda


Method

Line a baking tray with baking paper. Set aside.

Heat the golden syrup and sugar in a small saucepan over a medium heat.

Melt mixture and stir occasionally. Bring to the boil for 3 minutes -- make sure you stir continuously so the syrup doesn't burn.

Take the pot off the stove and stir in the baking soda. The mixture will froth up and become pale. Use a spatula to scrape and pour the mixture onto the baking paper.

Allow the honeycomb to set for 30 minutes.

Once set, wrap the honey comb loosely in parchment paper and use a rolling pin to break it into small pieces.
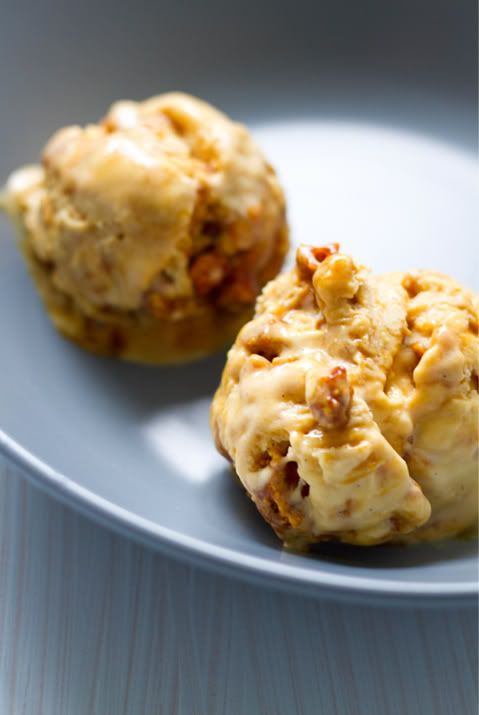


I have to say that home made ice cream surely is a whole lot better than store bought. Delicious! If you've never tried hokey pokey before then have a go at this recipe. Next time I'm going to make maple and walnut!

Monday, May 30, 2011

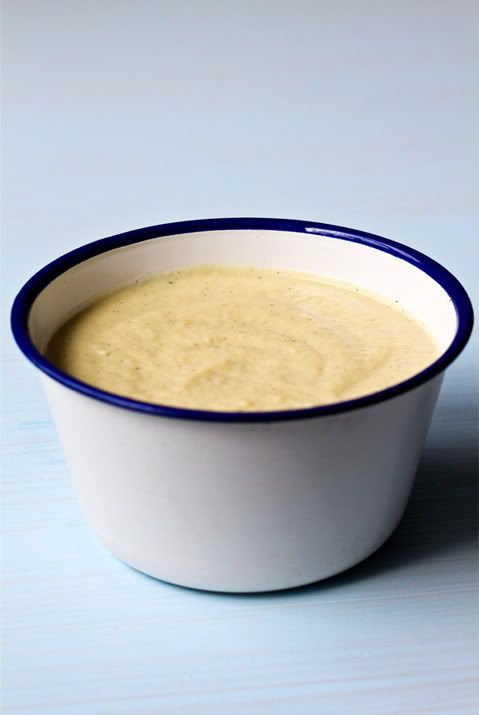
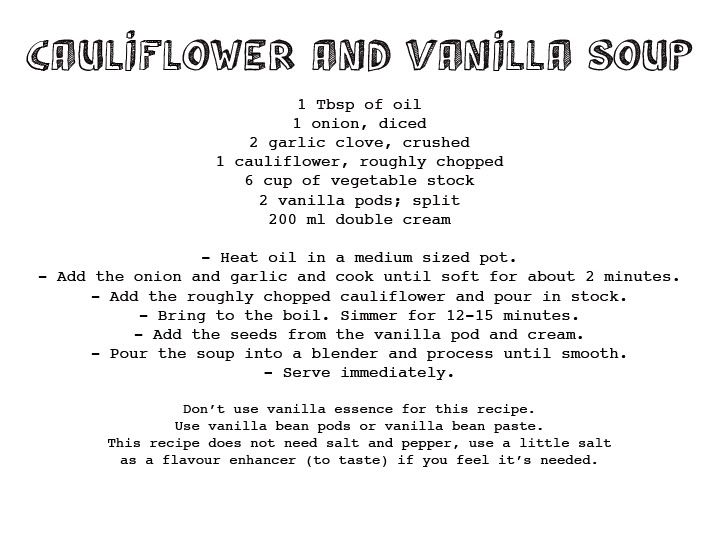
Cauliflower and Vanilla Soup


This soup makes a satisfying starter for any autumn dinner party with friends. A delicious flavour combo which not many would have tried! Surely a crowd pleaser.

I wrote these recipes for the Ceres Fair Food recipe page, which you can find here...
http://www.ceresfairfood.org.au/recipes/

Wednesday, May 18, 2011

Spiced Pear Tart.


Pears come into season just as the autumn cold hits us, so what better way to enjoy them than in this warm baked dessert!

I wrote these recipes for the Ceres Fair Food recipe page, which you can find here...
http://www.ceresfairfood.org.au/recipes/

Monday, May 2, 2011

chocolate chocolate chocolate...


So I figured since I haven't posted any sweet treats yet, chocolate would be a good start!
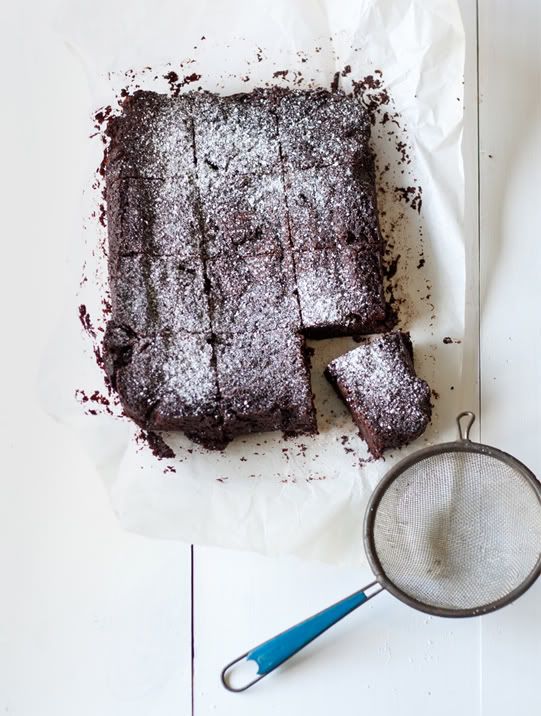
Just last week I did a shoot for a friends company called Koko Deluxe. They sell hot chocolate. So delicious! If you live in Melbourne, Wellington or London you might spot it in a cafe. If you do I suggest to get one! Anyway I photographed a lot of chocolate. Hot chocolate, powdered chocolate, grated chocolate, solid chocolate ... I think you get the point. Once I had finished the photos I found myself left with a 2.5 kilo block of amazing quality (you guessed it) chocolate. Oh what to do with it! After much deliberation I decided to make homemade brownies. With my quality control team standing by impatiently, I managed to snap a couple of photos without fingers in there before it got eaten! It was very yum.
For the record I used up about 200g of the block ... I'm sure you'll be seeing more of it soon in some form or another. So lets just say 'to be continued' for now.


Thursday, April 28, 2011


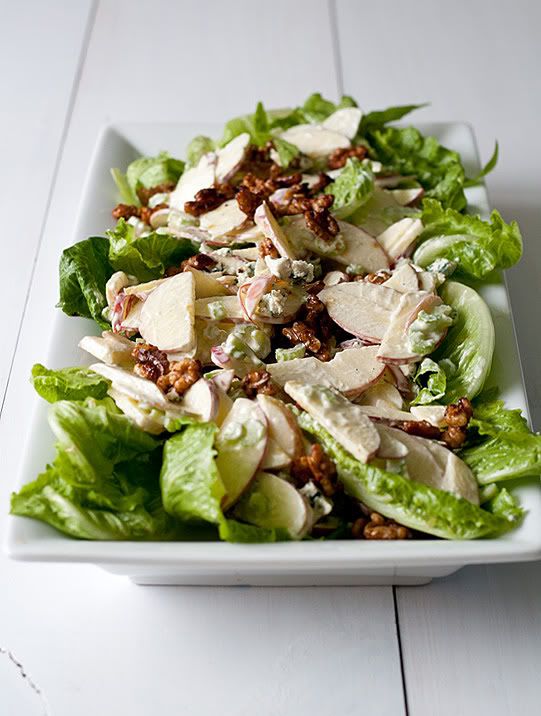
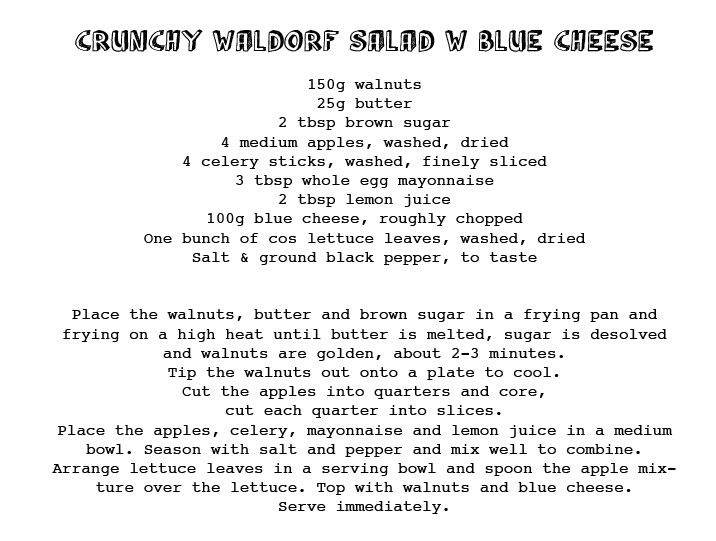
I love this salad. The last time I made something similar to this it was with pears, walnuts and blue cheese and no mayo. Which for the record is very yum. *sidenote* The first Waldorf Salad came from the Waldorf Hotel in NYC back in 1893. Originally it only had apples, celery, and mayonnaise in it. Walnuts were added later, good thing too! The recipe up the top there is one I've made up based on the Waldorf salad but with more good bits in it. Enjoy!


Tuesday, April 19, 2011

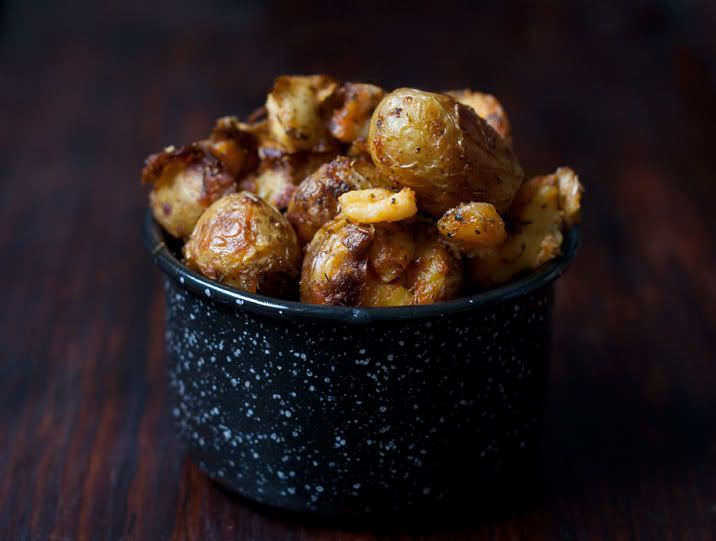
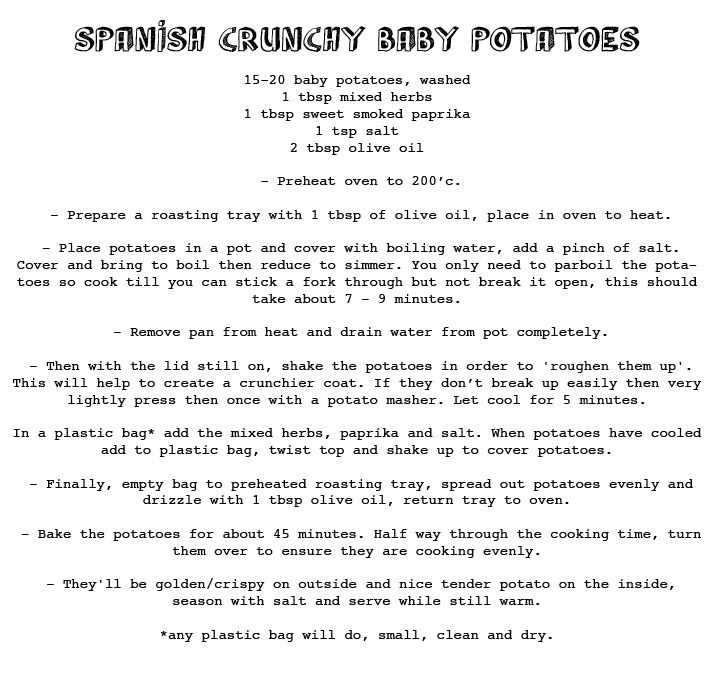
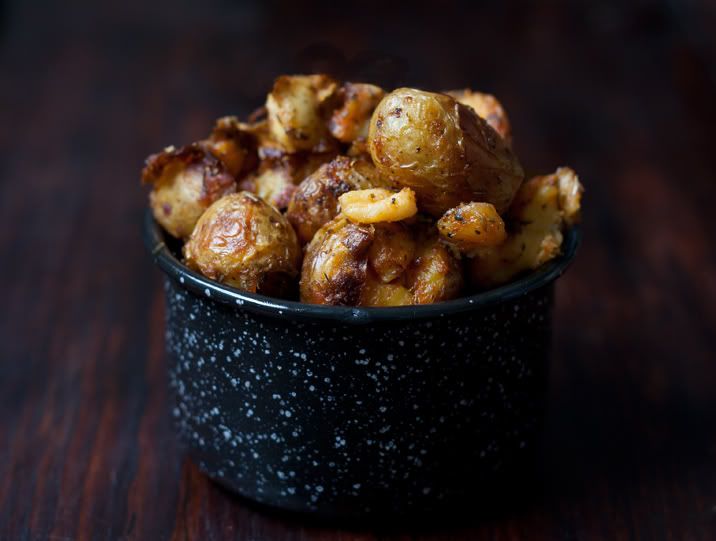
Spanish Crunchy Baby Potatoes ...


On a side note without getting on too much of a rant about health stuff. I think it's a good idea to leave potato skins on. There is no real reason to peel them unless you're really not a fan. Originally the skins were peeled because they were thought to be dirty, therefore peeling them they would be cleaner and healthier. Leaving the skins on actually has it's benefits as they help to hold in the nutrients - those being vitamin C, vitamin B6, copper, potassium and magnesium. Oh and the skins hold 50% of the potatoes’ fiber. Sounds pretty good to me! That wasn't too much of a rant I hope ... :)


I wrote this recipes and took this photo for the Ceres Fair Food, you can find it here...

http://www.ceresfairfood.org.au/recipes/

p.s ... I changed my face.

Just a quick note, if you haven'y noticed already I changed my blog header. See you soon with something delicious. x