Showing posts with label dessert. Show all posts

Friday, July 22, 2011

How to Eat a Hug ...


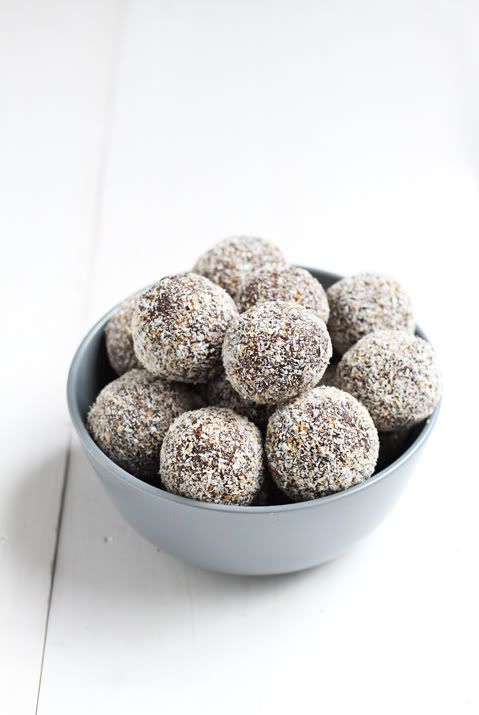
Eating a hug ... that's the best way I can describe these treats :) Yum! I've made them countless times so I thought I'd better share the recipe.
They are fairly ... actually in my book they are VERY guilt free! Dairy free, vegan, gluten free, and hold the phone they're sugar free too! Well sort of ... I found a loop hole, there is a bit a maple syrup in there for sweetness.

I don't have a name for them so they can just be coconut/ cocoa/ almond/ date-ish ball things for now. I'd love some name suggestions. :)

Here's the recipe:

Ingredients

400g Dried Pitted Dates
1/4 cup Psyllium Husk*
1/4 cup Rice Bran Oil
2 tbsp Maple Syrup
1 tsp of Vanilla Bean Paste**
1/4 cup Cocoa Powder
1/2 tsp Cinnamon
1/8 tsp Salt
1/2 cup (50g) Fine Desiccated Coconut
1 cup (160g) Blanched Almonds

+ a second measure of 1/2 cup (50g) of coconut for coating them at the end.
Either fine desiccated or shredded. I prefer shredded, it's a little fancier.

*Can substitute the psyllium husk for wheat germ, LSA mix or whatever is in your cupboard of the same texture and taste.
**Use essence if you don't have paste, but keep in mind that paste is so much better!
(for this recipe you need a food processor)


Method

Put all the ingredients except the coconut and almonds in a food processor, blend/pulse until the mixture resembles a paste like texture.
Transfer the mixture into a large bowl.
Put the almonds in the empty food processor and pulse until they are roughly chopped, add to the bowl with the first measure (1/2 cup) of coconut.
At this point you'll have to get your hands in there to combine the mixture evenly.
Once you've got a good consistency you can divide and roll the mixture into small balls (2 cm diametre).
Use the second measure of coconut to coat the balls. (I like to toast the coconut slightly before coating them).
Put them in the fridge in an air tight container for a few hours before eating to allow them to set. If you can refrigerate them overnight, even better!
Then eat!!

Thursday, June 9, 2011

What if the hokey pokey is what it's all about?


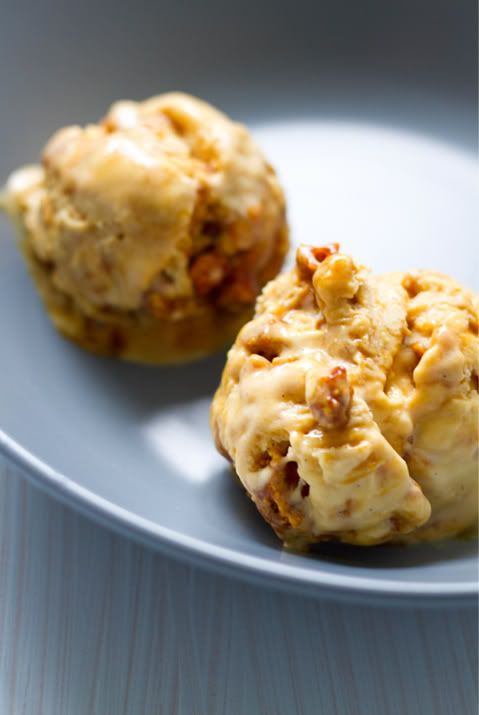
Yesterday I made ice cream and it was a success. Surprisingly! It's a lot easier to make than what I thought. It's pretty much just like making custard and freezing it. I made hokey pokey ice cream for nostalgic reasons. It's a bit of a New Zealand favourite.

To make it I grabbed a basic vanilla ice cream recipe online and used the old faithful Edmonds Cookbook for the hokey pokey. Since I don't have an ice cream maker I googled around for the how-to and found this guys blog post - david lebovitz. I've come across him before and definitely sounds like a bit of an ice cream expert. He makes it sound pretty easy, and turns out it is!

Recipes are below...(I added the hokey pokey about half way through freezing the ice cream)


Basic Vanilla Ice-Cream

(adapted from taste)


Ingredients

300ml thick cream

300ml milk

2 tsp vanilla bean extract

6 egg yolks

175g caster sugar


Method

Place the cream, milk and 2 tsp vanilla in a saucepan. Bring to the boil, then turn off the heat and set aside for 10 minutes to infuse.

Place the egg yolks and sugar in the bowl. Beat with an electric hand mixer until pale.

Carefully pour the milk over, then return to a clean saucepan.

Cook over low heat, stirring, for about five minutes until it is slightly thickened and coats the back of a wooden spoon.

(Keep the heat very low as you don't want to scrabble the egg yolks)

(This simple custard forms the basis of a classic ice-cream recipe.)

Set aside to cool, then refrigerate for 30 minutes.

Place custard in a plastic container in the freezer until frozen at the edges (about an hour). Remove from freezer. Beat with an electric beater. Re-freeze. Repeat this process two more times.

Leave until completely frozen, for best results leave over night.

(Alternatively, churn in an ice-cream machine according to the manufacturer's directions.)

Makes 1 Litre


Hokey Pokey


Ingredients

5 Tbsp of white sugar

2 Tbsp of golden syrup

1 tsp baking soda


Method

Line a baking tray with baking paper. Set aside.

Heat the golden syrup and sugar in a small saucepan over a medium heat.

Melt mixture and stir occasionally. Bring to the boil for 3 minutes -- make sure you stir continuously so the syrup doesn't burn.

Take the pot off the stove and stir in the baking soda. The mixture will froth up and become pale. Use a spatula to scrape and pour the mixture onto the baking paper.

Allow the honeycomb to set for 30 minutes.

Once set, wrap the honey comb loosely in parchment paper and use a rolling pin to break it into small pieces.


I have to say that home made ice cream surely is a whole lot better than store bought. Delicious! If you've never tried hokey pokey before then have a go at this recipe. Next time I'm going to make maple and walnut!